
i think it's time for another quilt block tutorial, don't you? this one is called ‘broken dishes’. it's a really simple block to make and would be a really good choice for a first quilt.
to get started, you need:
- a fabric pen
- a rotary cutter and mat
- a quilting ruler
- a sewing machine
got that? ok, here goes!
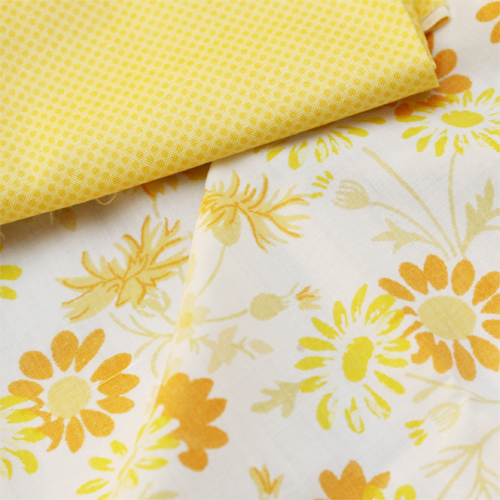
first, choose two complimentary fabrics
cut two 5″ square blocks from each of your two fabrics
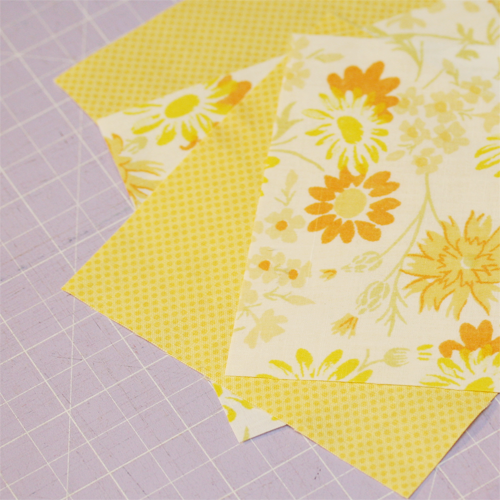
take one square of each fabric, and lay them on top of each other, right sides together, on your mat.
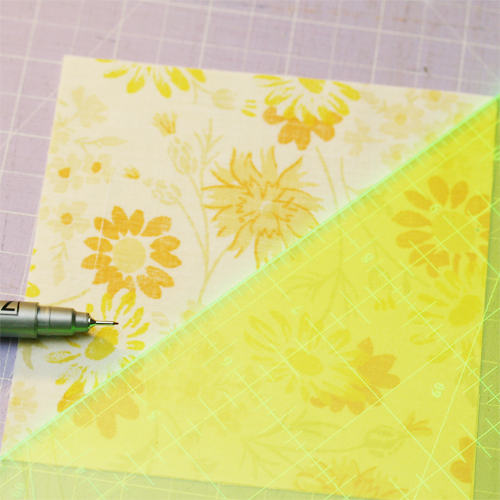
lining your ruler up with opposite points of the top square, draw a line with your fabric pen that bisects the square diagonally.
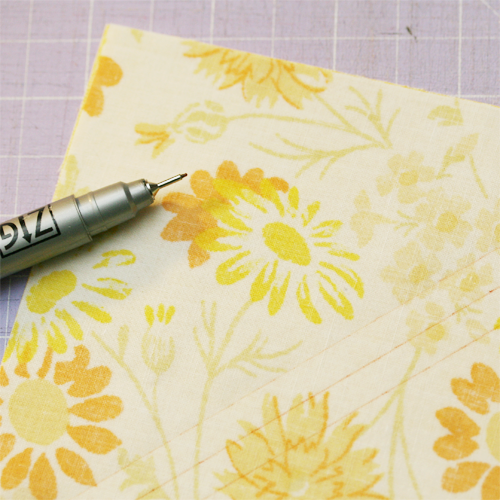
using your quilting ruler and pen, mark a line 1/4″ from either side of the one you drew in the previous step.
make sure your two pieces of fabric are directly on top of each other, then pin them in place.
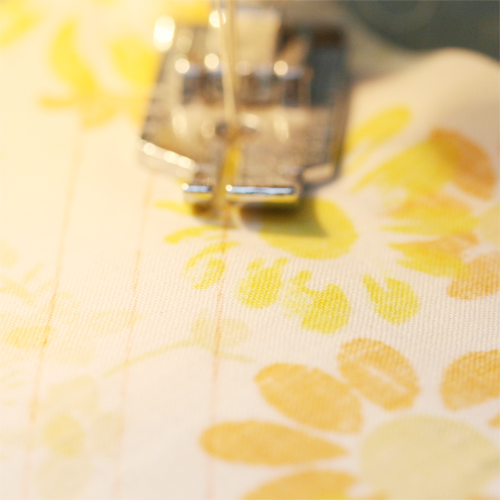
using your sewing machine, sew along each of the outer lines that you just drew.
using your quilting ruler and rotary cutter, cut along the original diagonal line you drew.

the two pieces you now have will open out into squares comprised of two contrasting triangles. press them open and trim the little bits of seam that stick out from either side of the square.
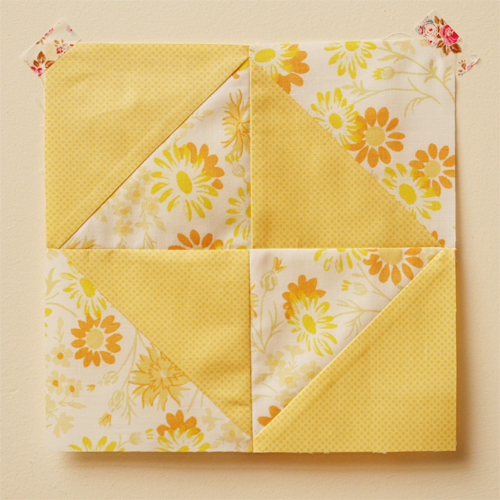
repeat this whole process so that you have four squares. lay them out on your mat so that they make the broken dishes pattern.

sew the top left square to the bottom left square to make a rectangle. repeat this with the top right and bottom right squares.

finally, sew the left rectangle to the right rectangle, and you have your completed 8″ block.
i can make a couple of these blocks while the baby has a nap - that’s how quick they are!
hope you’ll find this useful,
Thank you for this tutorial I have a desire to learn the. Techniques of.how h to make quilts and it your inspiration that helps those who wish to learn this craft
ReplyDeleteVery nice I plan to use this for a lap quilt for my granddaughter. Thanks for sharing
ReplyDeleteThis looks like something I can handle being a newbie. Would love to see several of these blocks together to see what it would look like finished. Thanks much!
ReplyDeleteThis is very ez. I took strips of material and sewed them together to make the 5"square and then followed the directions. Turned our super cute. I used one of these as a top for a pot holder. Too Cute! Thanks for the idea.
ReplyDeleteI love the way you have given a pictorial way of explaining on how a newbie can take up this task of making quilt. In Shaa Allah I will try very soon. Just waiting for my rotary cutter n cutting mat to arrive. Thanks for sharing this cute idea. 😍
ReplyDelete