
until recently, i haven’t really been that into christmas. it’s a time of year that i tend to find stressful and overwhelming, not least because i live in the southern hemisphere and it’s always very hot and uncomfortable on december 25th.
but my grinchy heart has been softening of late, and i can’t put my finger on the exact reason. maybe it’s because i’m pregnant looking forward to celebrating the occasion with my own child. maybe i’m a sucker for any reason to make cute and interesting crafts. maybe i’m just mellowing out in my old age. whatever the reason, i’ve decided to get behind christmas this year, and to enjoy it - chaos, stress, mess and all. and i’m starting by making some decorations.
i saw these cute button wreath ornaments on marthastewart.com, and thought i’d give them a try.

her instructions are very brief, so i’ve made a slightly more detailed tutorial with more pictures, just to make things a little easier for anyone else who might like to make them. they’re really easy, and could be a fun activity to share with kids.
what you need:
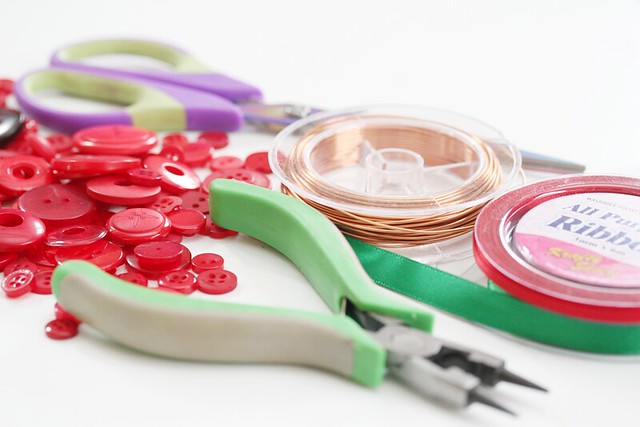
- 20 gauge copper wire
- a whole lot of buttons in varying sizes (you can buy bags of “seconds” buttons from craft stores, and they are much cheaper than buying buttons individually)
- roll of 3mm craft ribbon in complimentary colour
- roll of 10mm craft ribbon in complimentary colour
- wire cutters
- scissors
instructions:
using your wire cutters, cut a piece of wire 9″ long.
with your fingers (copper wire is very malleable), make a loop at one end of this piece of wire, making sure to flatten a portion of it alongside the longer end of the wire as pictured:

start to thread buttons onto the wire.
make sure that your first button has holes that are too small for two widths of wire to pass through, so that your loop stays button-free, as pictured below:

here are some more button-threading tips:
- try to vary the sizes of your buttons as you go. that way, when you bend the wire into a loop there will be a little bit of room for movement.
- try not to bend the wire around too much as you work. the copper will weaken quickly and may break.
- if your button has multiple holes, don’t worry about which one to thread the wire through. gravity will ensure that the buttons hang nicely in the end.
- using several smaller buttons at each end will make the process of securing your wreath into a loop much easier.
continue threading buttons until you have approximately 1″ of wire left:

bring this end around to your looped end, forming your wreath-shape. don’t worry about making it perfectly round at this stage, you can do that once you have secured it.
wrap your tail-end around the stem of the loop you made earlier, being careful to keep your buttons from sliding around too much and leaving gaps in your wreath:


cut a 12″ piece of your 10mm ribbon, and tie it in a bow around the place where you have wrapped your wire. this not only conceals the join, but it adds another decorative element to your ornament.
finally, make a hanging loop from a piece of your 3mm ribbon, at a length that you feel is appropriate (i don’t like my ornaments too dangly, but you might prefer them that way!)

and there you have it! a bright and cheerful christmas wreath to hang on your tree.
you’ll find that you get into quite a rhythm with making these. my first took a little while to get right, but i got more efficient as i went along and ended up making quite a few in just an hour or so.
i hope this was a helpful tutorial!