
cutting
red fabric:
eight 2-7/8” squares
yellow fabric:
four 4-1/2” squares
background fabric:
eight 2-7/8” squares,
four 2-1/2″ squares,
four 2-1/2″ x 6-1/2″ rectangles
green fabric:
one 2-1/2” square
piecing
take one of your 2-7/8” squares of background fabric, and one of your 2-7/8” squares of red fabric, and place them right-sides together on your cutting mat.
using a fabric pen, rule a diagonal line from one corner to the opposite corner.
then draw a parallel line on either side of this, 1/4” from the central line.
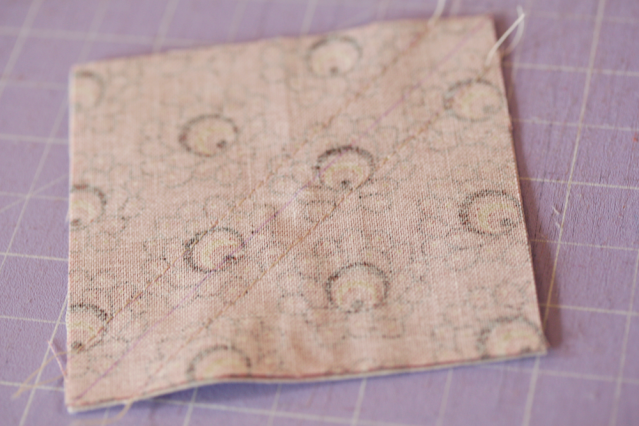
sew alone each of these outer lines, then cut down the central line.
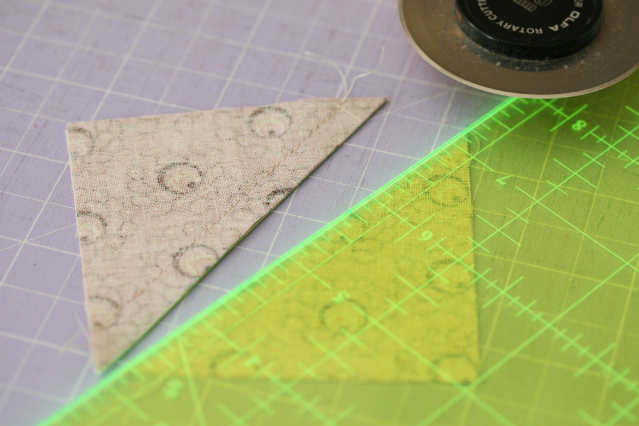
open out and press, then repeat this process with all of your 2-7/8” squares.
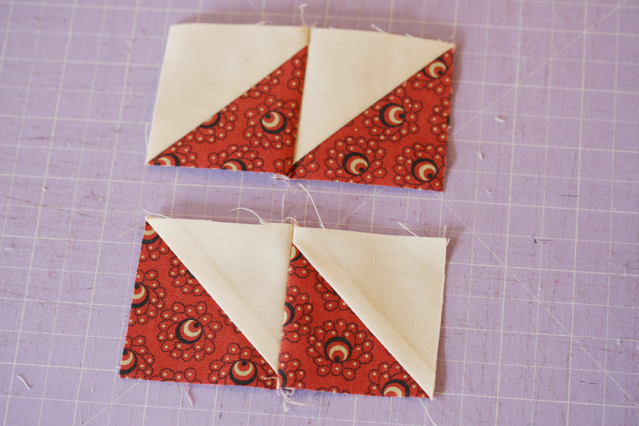
take these squares and sew pairs of them together side be side. press.
IMPORTANT: half of your pairs should have the diagonals going in one direction, and the other half should have them going in the opposite direction, as pictured below:
take one of your 4-1/2” squares of yellow fabric, and sew one of your ‘paired triangles’ pieces to an edge of the square.
repeat for all four yellow squares, ensuring that the triangles are pointing in the right direction, as pictured below. press.
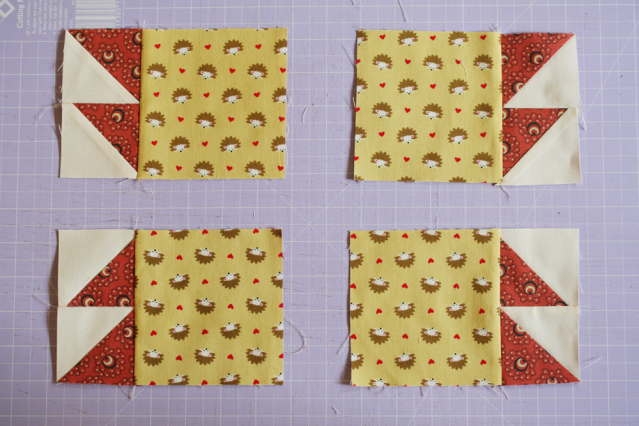
take another one of your ‘paired triangles’ pieces, and sew one of your 2-1/2″ squares to the end of it in a way that will completes the bear-paw shape.
laying the pieces out on your cutting mat to make sure everything is pointing in the right direction before sewing is a good idea.
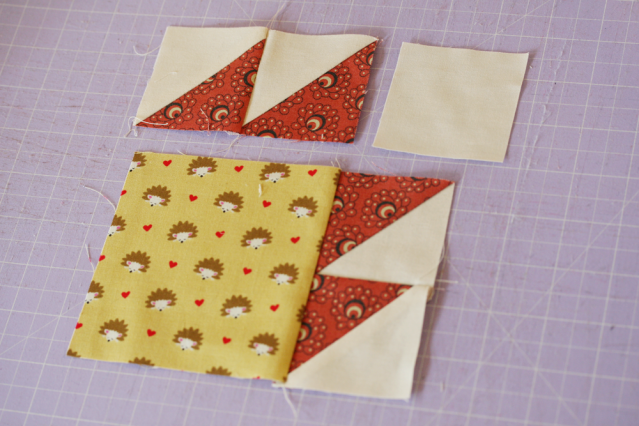
sew this longer piece to the appropriate side of the yellow square as suggested in the above image.
repeat this process so that you have four completed bear-paw shapes. press.
take one of your four 2-1/2″ x 6-1/2″ rectangles of background fabric, and lay a bear-paw on either side of it, pointing upwards and outwards.
sew the bear paws to the long edges of the rectangle in this configuration. press.
take one of your four 2-1/2″ x 6-1/2″ rectangles of background fabric, and lay a bear-paw on either side of it, this time pointing downwards and outwards.
sew the bear paws to the long edges of the rectangle in this configuration. press.

take your remaining two 2-1/2″ x 6-1/2″ rectangles of background fabric, and sew them to opposite edges of your 2-1/2” square of green fabric. press.
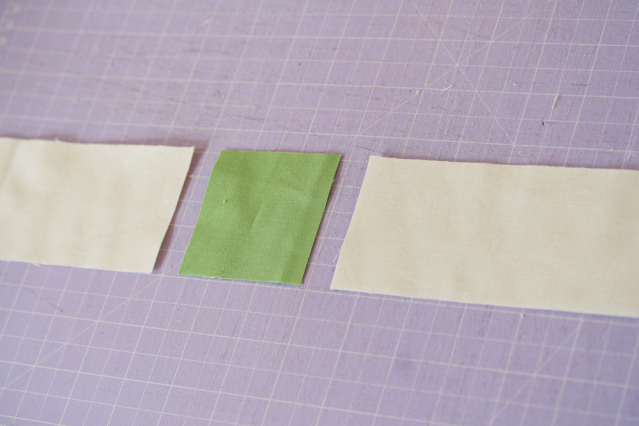
use this long skinny piece to connect your two pairs of bear-paws, then, you guessed it, press.
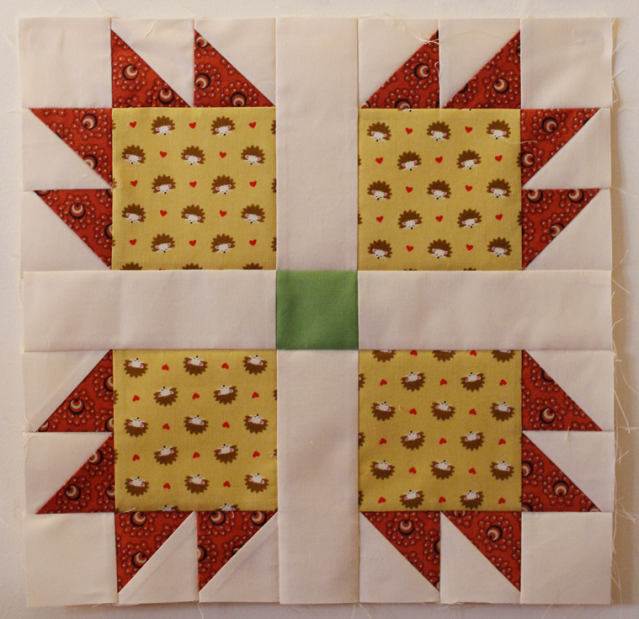
now you have a completed bear-paw block!
i think i’ll make a full quilt in this style one day. there's an old fashioned charm to it that i find very appealing.
i hope you find this tutorial very useful. do drop back and show me if you use it to create something!