Wednesday, 17 February 2010

bookbag

as a nerd and a bookworm, i need a big bookbag in which to lug many tomes to and from uni. i’m happy to say that i’ve finished my 2010 bookbag, and i love it!


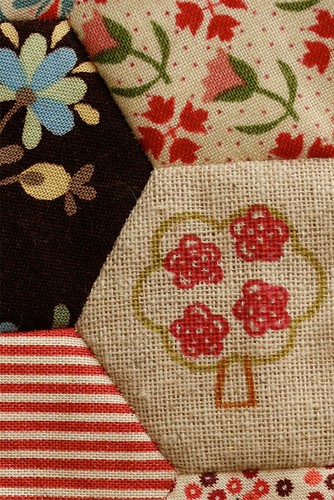
the hexies are paper-pieced, the bag itself is freestyle quilted, and the handles are hand stitched.
the lining is made of a few of the fabrics that i used to make hexagons.


i love paper piecing, because it’s pretty much the only time that i bother with fussy-cutting, the results of which i always love!


this project was inspired by this beautiful bag by modern acorn, and since it resembles her design quite closely, i won’t be writing a pattern for this one. you should join me in encouraging her to write a pattern that we can buy!

Sunday, 14 February 2010

love bird

i hope you’ve had (or are having!) a lovely valentine’s day.
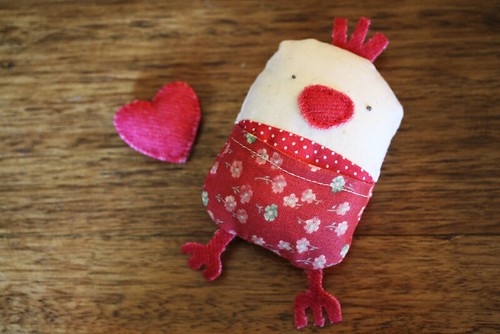
i made my honey a love bird, using molly chicken’s tutorial. it was easy to follow and i think the result is very sweet:


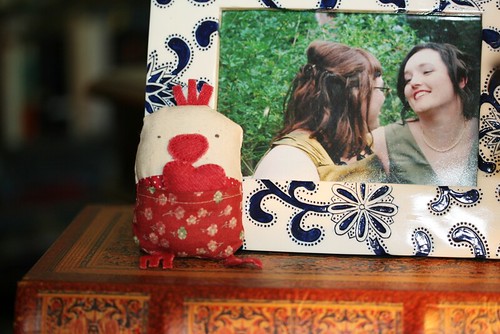
she has named him rupert.

Monday, 8 February 2010

a quilt for sara-jane

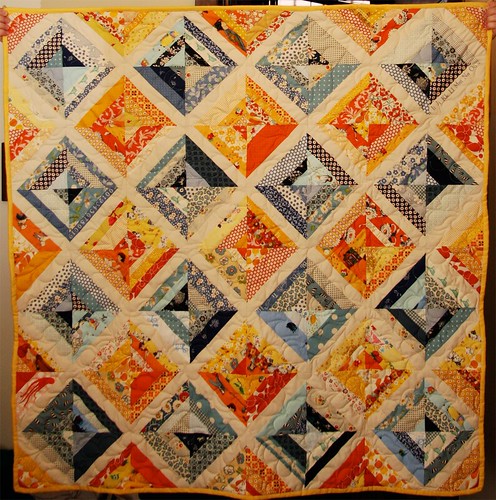
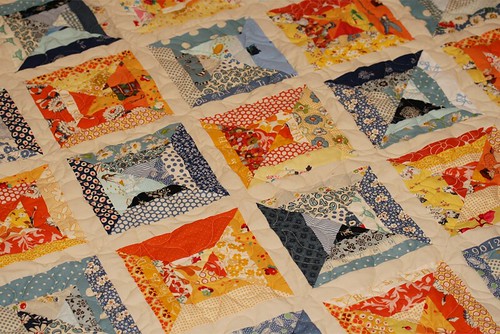
my sajee finally has her own quilt, and she has our friend lilito thank for it. lili posted a photo of a cushion she was making using string blocks, and i thought it looked kind of great, so i had a go at it myself. it got kind of addictive, and this was the result:


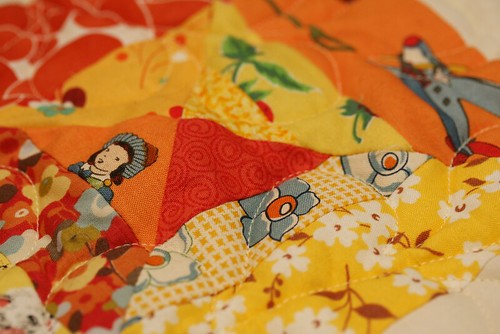
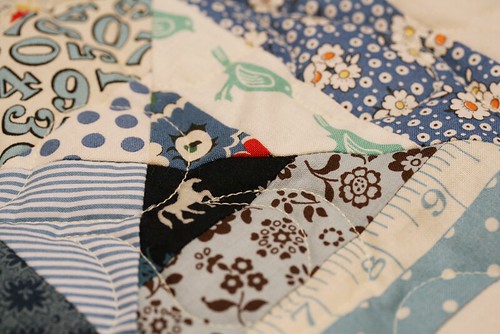
i used heaps of scraps, and some carefully selected fat quarters, and i think it came together pretty well:


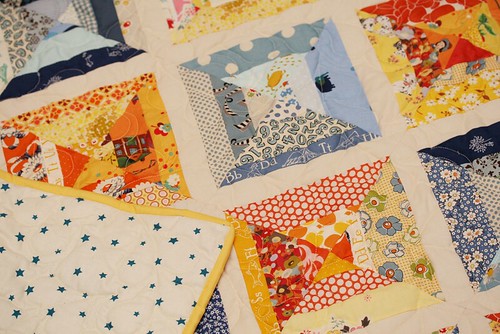
the backing is quite simple, to contrast with the super busy top


and the blue contrasts nicely with the oranges and yellows


but most importantly, it gets the tiny dog’s tick of approval:

p.s. if you want to have a try at a string quilt yourself, here are a couple of tutorials:

Wednesday, 6 January 2010

tutorial: ikea frame to badge board

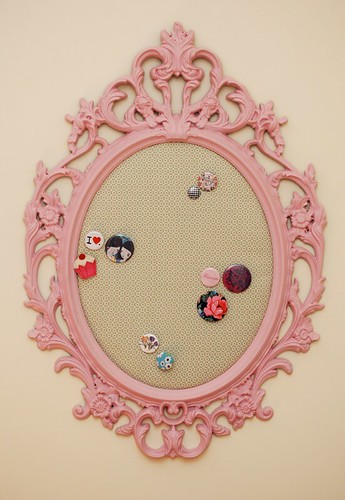
the other day, my gf and i went to ikea to pick up a few bits and pieces for the house. we got some cool stuff, most of it practical (plates, curtains, etc), but some less practical and more pretty. like this frame, which we both thought was super cool:


it’s pretty large (59 x 85cm), and we weren’t quite sure what to do with it - we just knew we liked it! on monday i had a brain wave, and turned the frame into a badge board:


here’s how i did it:
1. removed the glass and backing and set them aside, then used some E.S.P. to prepare the plastic surface to take paint.
2. added an undercoat to help cover the black.
3. used two coats of pretty rose-pink paint (a sample pot from the hardware store was more than enough), to make the frame the colour i wanted.
4. took the backing for the frame and used it as a template to cut out a piece of fabric that went with the pinkness of the frame, making sure i left about 1.5 inches overhang for securing it in place.
5. cut two ovals of thick soft quilt batting (i used leftovers from old quilting projects - this was good for using those bits up!), this time with no overhang.
6. laid the fabric down face down on my table, centered the two layers of batting on top of it, then centered the frame backing over this.
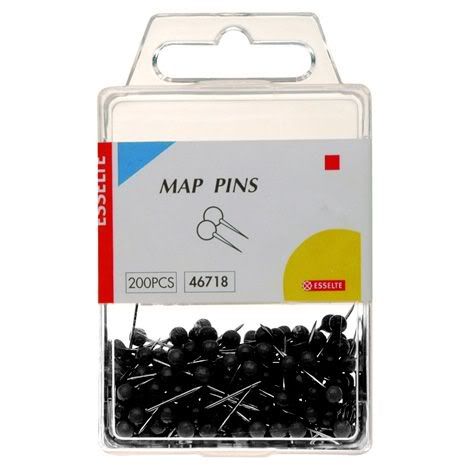
7. used small map pins to secure the fabric in place. these were inserted on an angle so they would be secure and wouldn’t poke through to the other side (this is also why i didn’t just use a staple gun). the fabric was pulled firmly but not stretched outrageously tight.
8. i took the whole backing-batting-fabric piece, and placed it in the frame, completing the project.

it’s now hanging on the wall in our room, looking after our many, many, many badges for us, and allowing us to admire them even when we’re not wearing them! hurray!
this project was suuuuper easy, and i think the result is quite awesome - i hope you do too!

p.s. you won’t need the glass that’s left over at the end of this project, so you should either store it carefully for if you ever want to turn your badge board back into a frame, or recycle it.

Tuesday, 29 December 2009

teal deer

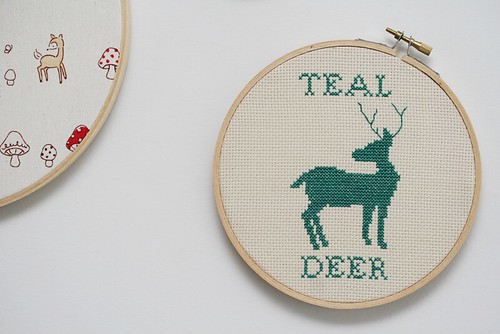
it’s not only my embroidery geekiness that’s showing (two new designs in two days! what is this madness?), but my internet geekiness too:


for those who don’t know what i’m on about, the urban dictionary defines “teal deer” as “a bastardization of ‘tl;dr’, which is a bastardization of ‘too long; didn’t read’…”.


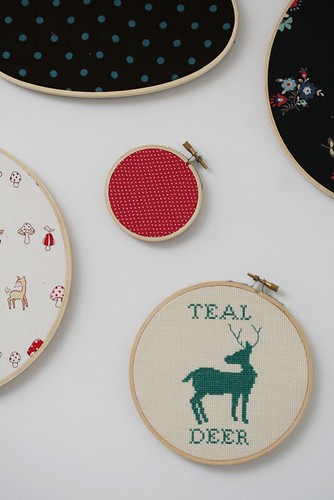
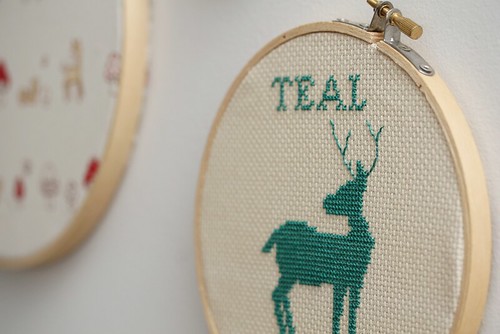
this could be a cheeky gift to a particularly loquacious friend (if you think it can be given and received in fun, and not taken personally!), or just a fun and nerdy decoration for your home. mine is hanging among my fabric hoops in our living room.


the chart is below for your stitching pleasure. i used DMC 991 for mine, because i think it’s a lovely rich, vibrant teal.


may your geekiness be with you - enjoy!

Monday, 28 December 2009

tutorial: embroidered greeting card

when i was ten years old my mum went on a holiday to holland to visit relatives with my oma. my aunty judith and uncle martin looked after me while mum was away, and while i stayed with them aunty jude taught me to cross stitch. she bought me my fist few skeins of DMC floss, my first piece of aida, and my first embroidery needles. i have loved to stitch ever since.

it’s somewhat surprising to me that i have never designed a cross stitch pattern before. i guess it’s one of those things that i have always been meaning to do and never quite gotten around to til now.

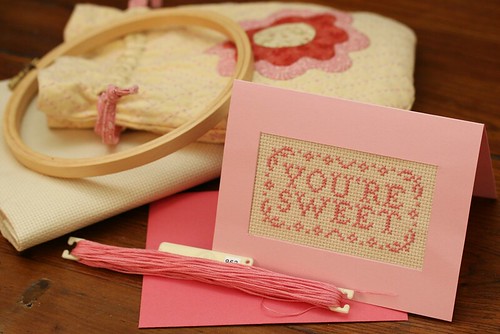
this is a very simple pattern for a small cross stitch, which you could frame, or do as i have done and make a card:


you will need:
- a small piece of 14 count aida
- some embroidery floss (i used DMC 962, which i think is a particularly nice pink)
- embroidery needle
- embroidery hoop (desirable but not essential)
- a soft pencil (2b is good)
- an eraser
- a stanley knife and cutting board
- a ruler
- two pieces of card in a colour that coordinates with your selected floss. one piece should measure 140mm x 215mm, the other 100mm x 135mm
- a matching envelope

(N.B. this guide assumes you know the basics of cross stitch - of you are a beginner and do not know how to cross stitch, you can find a very good guide with pictures *HERE*)

1. fold your 140mm x 215mm piece of card in half.
2. on the front of this folded card, center and draw a rectangle that is 100mm x 55mm.
3. using your stanley knife and cutting board, carefully cut this rectangle out, making a window in the front of your card (make sure you open your card out flat before cutting - you only want to cut this hole in the front!).
4. erase any pencil lines, then set aside.
5. place your aida in your embroidery hoop and stitch the following design:


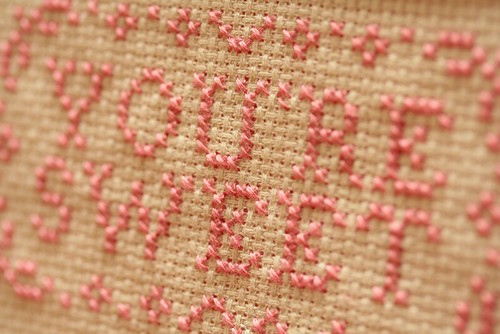
the little tail on the apostrophe is not drawn in on this pattern - it is simply a diagonal stitch from top left to bottom right of the square below the body of the apostrophe. you should be able to see how i have done this in the photo below.


6. trim your aida so that the design is centered, and the full piece of aida is approx 95mm x 130mm.
7. center your cross stitch over the window in your card, and using strong crafting tape or glue, secure it in place.
8. take your piece of card measuring 100mm x 135mm and stick it to the inside of the card so that the back of your cross stitch is both covered up and supported.
9. write a message inside to someone you think is sweet, stick it in the envelope, and seal it with a kiss!


i hope you like this pattern!

Wednesday, 18 November 2009

a variation

it’s your mum’s job to love all the little things you make. mine has unfailingly encouraged my creativity, and has aided and abetted me in any way i’ve asked, from letting me hammer old nails into bits of wood as i imagined engineering some personal robot companion, to lending me bowls from the kitchen in which to concoct brews from berries, leaves, pollen, and mud from the garden, to good old fashioned cutting, pasting and drawing.

i’m left-handed, so she’s always found the way i go about things a bit puzzling (“but that’s backwards”), and teaching me to knit proved to be quite a challenge, but i know she’s proud of what i make because her house is full of framed embroideries and drawings i’ve done for her, and she has a box of childhood creations that she’s put somewhere safe in case of fire.

even though i know all this, i was still very proud when she asked me to make some christmas presents for her friends this year. she ordered some coasters.
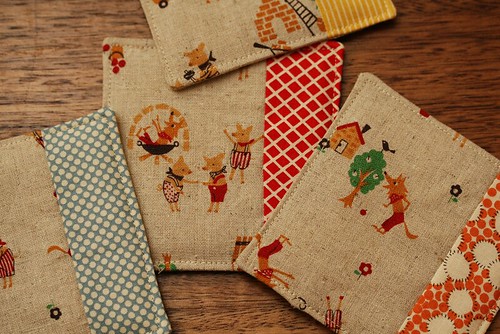
here’s the first set:


i’m following the same steps that i outlined in the ‘coasters in an hour’, pattern that i wrote and posted a while ago, with a couple of tiny variations:

instead of cutting the same size squares of fabric A and fabric B, one is designated as backing (let’s say that’s fabric A), and then two fabrics are chosen as the top (they’ll, perhaps predictably, be B & C). 
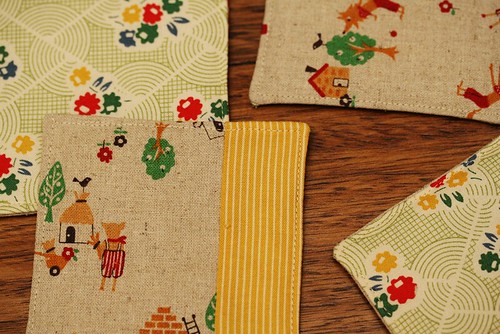
as you can see above, i’ve chosen a kind of ‘feature fabric’ as fabric B, and a few different complimentary fabrics, which for the purposes of simplification i will refer to collectively as fabric C.
i wanted to make these ones a teensy shade bigger than the original pattern, so i cut four squares of fabric A at 4″ instead of 3.75″. then i cut four rectangles of fabric B at 4×3″, and four from fabric(s) C at 4×1.5″.
i paired each piece of fabric B with a piece of fabric C, and sewed them into squares along the 4” edge, using, as always, a ¼” seam.
the rest of the process was the same as in the original pattern.


i like the way this variation not only lets you use a bigger range fabrics, but also lets you use some fabric that you may only have tiny pieces of left. i tend to cling to skerricks of fabrics that i have loved (as many quilters do!), and i’m always thrilled to be able to use them up on things that i know will be used and hopefully loved.